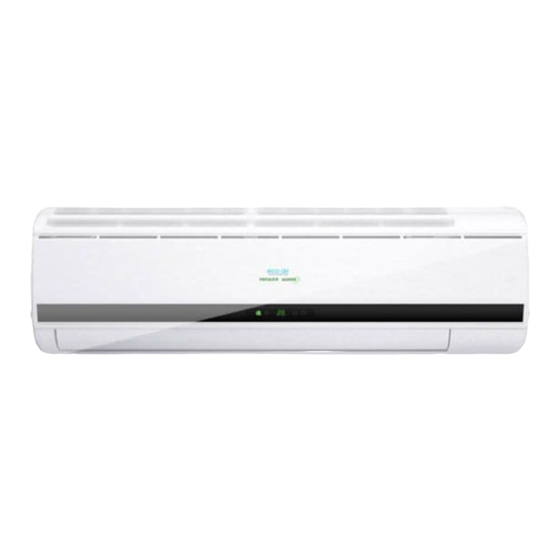
Summary of Contents for Eco Air ECO906SQ
- Page 1 R410A SPLIT SERIES DC INVERTER QUICK COUPLING Models ECO906SQ ECO1206SQ ECO1806SQ Before using your air conditioner, please read this manual carefully and keep it for future reference.
- Page 2 BS PLUG WIRING (For models up to 12000 Btu) Wiring Instructions: Should it be necessary to change the plug please note the wires in the mains lead are coloured in accordance with the following code : BLUE - NEUTRAL BROWN LIVE GREEN AND YELLOW - EARTH As the colours of the wires in the mains lead of this appliance may not correspond with the coloured markings identifying the terminals in your...
- Page 3 DISPOSAL When using this air conditioner in the European countries, the follow information must be followed: DISPOSAL: Do not dispose this product as unsorted waste. It is prohibited to dispose of this appliance in domestic household waste. For disposal, : A) Contact your local council for disposal.
-
Page 4: Table Of Contents
CONTENTS SAFETY PRECAUTIONS Warning .............................2 Caution ............................2 INSTALLATION INSTRUCTIONS Selecting the location......................3 Accessories ..........................4 Indoor unit installation........................5 Outdoor unit installation......................7 REFRIGERANT PIPE CONNECTION Refrigerant pipe connection ......................8 ELECTRICAL WORK Electrical work .........................9 TEST RUNNING Test running ...........................10 Read This Manual Please read this installation manual completely before installing the air conditioner. -
Page 5: Safety Precautions
SAFETY PRECAUTIONS Read these SAFETY PRECAUTIONS carefully to ensure correct installation. Precautions are classified as WARNING and CAUTION. Ensure all precautions are observed as they are important to ensure your safety. Failure to observe precautions may cause grave consequences. WARNING Failure to follow any WARNING is likely to result in grave consequences such as death or serious injury. -
Page 6: Installation Instructions
INSTALLATION INSTRUCTIONS Selecting the location Indoor unit Do not expose the indoor unit to heat or steam. Select a place where there are no obstacles in front or around the unit. Make sure that condensation drainage can be conveniently routed away. Do not install near a doorway. -
Page 7: Accessories
INSTALLATION INSTRUCTIONS Accessories Q ty Number Name of Accessories Installation Plate Clip Anchor Self-tapping Screw A - ST3.9X25 Seal(see page 8 for details) Drain Plug(see page 8 for details) Remote controller Self-tapping Screw B - ST2.9X10 Remote controller holder Note: The above parts are provided,certain other parts needed during installation are not provided. -
Page 8: Indoor Unit Installation
INSTALLATION INSTRUCTIONS Indoor unit installation 1. Fit the Installation Plate Correct orientation 1. Fit the installation plate horizontally of Installation Plate on structural parts of the wall with spaces around the installation plate. 2. If the wall is made of brick, concrete or the like, drill eight (8) 5mm diameter holes in the wall. - Page 9 INSTALLATION INSTRUCTIONS 3. Drainage Installation 1. Run the drain hose sloping downward to ensure condensation water is being drained externally, any rise in the drain hose will prevent condensation water to flow externally on gravity as illustrated below. Condensation Water Do not form a rise Do not put the hose end into water...
-
Page 10: Outdoor Unit Installation
INSTALLATION INSTRUCTIONS CAUTION Do not allow the pipi n g to let out from the back of the indoo r unit. Be careful not to let the drain hos e slack. The connective pipes must be heat insulated. Be sure that the drain ho se is located at the lowes t side of the bundle. Loca ting at the upper side can cau se condensation tray to overflow inside the unit. -
Page 11: Refrigerant Pipe Connection
REFRIGERANT PIPE CONNECTION Drain plug installation Fit the seal into the drain elbow, then insert the drain plug into the base pan hole of outdoor unit, rotate 90 to securely assemble them. Connect the drain plug to an Base pan hole of Drain Plug Seal extension drain hose to drain water from the... -
Page 12: Electrical Work
ELECTRICAL WORK To disconnect the couplings: Step 1: Shut down the A/C unit and unp lug the electrical power cord from the wall outlet. Step 2: Wait five minutes for the line pr e ssure between the indoor compressor unit and outdoor condensing unit to equalize. -
Page 13: Test Running
ELECTRICAL WORK Input Rated Amp Power supply Model (Switch/Fuse) <16000Btu/h 220-240V~ 50Hz >16000Btu/h 220-230V~ 60Hz NOTE: The supply voltage can not be less than the rate voltage of the air conditioner. CAUTION CAUTION CAUTION After the confirmation of the above conditions, prepare the wiring as follows: 1) Be sure to use a dedicated power circuit specifically for the air conditioner. - Page 14 MEMO Date of installation: Purchased from (Dealer Name): Date of purchase: Model number: Serial number:...
- Page 15 ONE (1)YEAR LIMITED WARRANTY Save This Warranty Information EcoAir guarantees this product free from defects in materials and workmanship for a period of one (1) year from the date of purchase, limited to parts only. Faults arising from a faulty installation is specifically excluded. This unit must be operated under conditions as recommended, at voltages indicated on the unit.


