Table of Contents
Advertisement
Quick Links
User Manual
Model No.: CCD-680E
2.4 GHz Wireless
Monitoring System with Dual Mode
(USB & A/V) Receiver
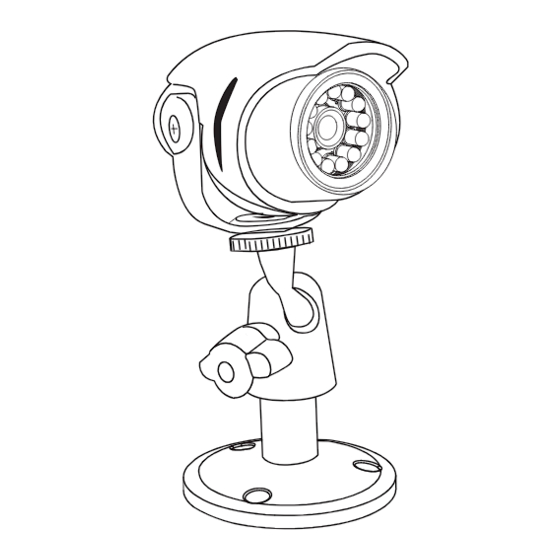
- (1) Wireless Color Weather Resistant Camera
- (1) Wireless Dual Mode (USB & A/V) Receiver
- (1) AV Cable
- (1) 7.5V Adaptor for Camera
- (1) 7.5V Adaptor for Receiver
PLEASE READ CAREFULLY AND SAVE
This manual contains important information about this product's operation.
If you are installing this product for others, you must leave this manual -or a
copy- with the end user.
Advertisement
Table of Contents

Summary of Contents for Sony CCD-680E
-
Page 1: User Manual
User Manual Model No.: CCD-680E 2.4 GHz Wireless Monitoring System with Dual Mode (USB & A/V) Receiver - (1) Wireless Color Weather Resistant Camera - (1) Wireless Dual Mode (USB & A/V) Receiver - (1) AV Cable - (1) 7.5V Adaptor for Camera - (1) 7.5V Adaptor for Receiver... -
Page 2: Table Of Contents
No.: CCD-680E Contents Safety and Hazard Notices FCC/CE WARNING System Installation Installing the Camera Installing the Receiver System Requirements Software installation Device Driver Set Up / Video Device About Alarm / Alarm Actions Record location / Email Telephone / Alarm Schedule... - Page 3 When I connect the receiver to my PC or NB, I found… Important! Please read this Manual carefully Error Possible cause before installing or using these units. No image or no sound Receiver is not supplied with electricity. WARNING- These units should ONLY be disassembled by an authorized in Camguard Window ...
-
Page 4: Fcc/Ce Warning
FCC/CE WARNING Disposal This equipment generates and uses radio frequency energy and if not installed and used properly, If the camera system no longer functions or can no longer be repaired, it must be disposed of that is, in strict accordance with the manufacture's instructions, may cause interference to radio and according to the valid statutory regulations. -
Page 5: System Installation
Technical Data System Installation Prior to installing the camera, make sure receiver has clear, interference-free reception. Camera Receiver To do this, have someone hold the camera in the area to be monitored. Have another Operating voltage 7.5V DC(plug-in power unit) 7.5V DC (plug-in power unit) person move the receiver to a variety of locations to check reception. -
Page 6: Installing The Camera
Installing the Camera System Options - On-Screen Display Display Device Name: To display ATTENTION! the name of the device on the Prior to drilling and inserting the screws, make sure that there are no electric cables, video or images captured. Display pipes, etc. -
Page 7: Installing The Receiver
System Options - Storage Installing the Receiver Path for Saving Record Files: Set the path for saving record files, which include scheduled record, Set up the receiver approx.3 feet above ground (better receiving condition). There should alarm record, and quick record. You can set multiple paths for saving. Click the "Add" button on the be an electrical outlet nearby. -
Page 8: System Requirements
Conneting the receiver to PC Event List 1. Plug the USB cable into the USB socket of computer List of event by “Recent Day”, “Recent Week”, and “Recent Month” 2. Insert the CD-ROM provided and Install CamGuard software and Driver You can also browse the even by selecting the “Year/ Month”. -
Page 9: Motion Detection
Snap Shot 3). Click [Next] to install the CamGard Security System Software (Home Edition). 4). Accept agreement, and then click [Yes] to proceed. Saving the screen in View Window in a moment. 5). Select the location where you wish to install the program (ex: C:/, D:/), and click [Next] to install the program. -
Page 10: Device Setting
Remote Access Device Setting Enable remote service account: A static IP address (fixed) is needed for this section. Once installation of the software has completed, double click on the shortcut of Please contact your ISP for a static IP address. You can not use remote access using “CamGuard Security System (Home Edition)”... -
Page 11: Record Schedule
Motion Detection: Alarm Set: CamGuard Security System allows the Click on the “Alarm Set” button to setup the alarm duration. monitoring area and sensitivity to be set Alarm Duration (s): The duration between the time when some- according to local conditions: thing abnormal is detected to the time when the alarm is closed. - Page 12 Telephone: Record location: 4. When abnormity is detected, the program will dial the telephone number preset 2. When any abnormality is detected, the program will automatically save the through the modem installed on your COMPUTER. To enable the function, you need to images or video data on the local file.


