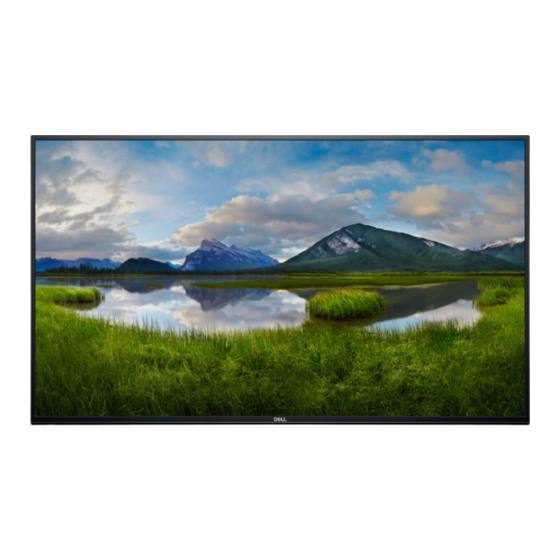
Dell C5519Q Disassembly Procedure
Hide thumbs
Also See for C5519Q:
- User manual (69 pages) ,
- Service manual (19 pages) ,
- Service manual (25 pages)
Advertisement
Quick Links
C5519Q
1
Mechanical Instruction
1. Disassembly Procedures:
Step
S1. Before
disassemble
S2. Remove the
cover hinge
S3. Remove the
REAR COVER
1
3
4
6
5
3
19
2
17
18
1
Figure
2
7
8
11
20
12
16
15
1
Remark
Turn off power,
Unplug external
cables from product
Use a Philips-head
screwdriver to remove 4
screws for remove the
cover hinge.
4
4
(No.1~4 screw
size=M4x14;
Torque=12±2kgf.cm)
9
10
Use a Philips-head
screwdriver to remove 20
screws for remove the
13
Rear Cover.
(No.1~20 screw
14
size=M3x6;
Torque=4±1kgf.cm)
Use Penknife to separate
the bezel and rear cove
follow the arrows in
sequence, then you can
take out rear cover.
Advertisement

Summary of Contents for Dell C5519Q
- Page 1 C5519Q Mechanical Instruction 1. Disassembly Procedures: Step Figure Remark Turn off power, S1. Before Unplug external disassemble cables from product Use a Philips-head screwdriver to remove 4 screws for remove the S2. Remove the cover hinge. cover hinge (No.1~4 screw size=M4x14;...
- Page 2 C5519Q 1. Disconnect all of the pins and remove the speakers. S4. Disconnect all 2. Use a Philips-head screwdriver to of the cable and remove 4 screws for remove the speakers remove the Speakers (No.1~4 screw size=Q4x10; Torque=8±1kgf.cm) Use a Philips-head screwdriver to remove 4 S5.
- Page 3 C5519Q Use a Philips-head screwdriver to remove 8 screws for remove the Power board. (No.1~8 screw size=P3x4; Torque=4±1kgf.cm) Use a Philips-head S6. Remove the screwdriver to remove 6 screws for remove the Main &Power Board Main board. (No.1~6 screw size=D3x6 Torque=6±1kgf.cm )
- Page 4 C5519Q Use a Philips-head screwdriver to remove 2 screws for remove DECO S8. Remove the Bezel DECO bezel (No.1~2 screw size=P3x4; Torque=4±1kgf.cm ) S9. The Panel Disconnect the pin Use a Philips-head screwdriver to remove 4 screws for remove the S10.
- Page 5 C5519Q Remove electrolyte capacitors (red mark) from printed circuit boards Take out bulk cap. pin S12.Remove solder with soldering capacitors iron and absorber Lift the bulk cap. up and away from the...
-
Page 6: Tools Required
C5519Q 2 Product material information The following substances, preparations, or components should be disposed of or recovered separately from other WEEE in compliance with Article 4 of EU Council Directive 75/442/EEC. Capacitors / condensers (containing No used PCB/PCT) Mercury containing components...


