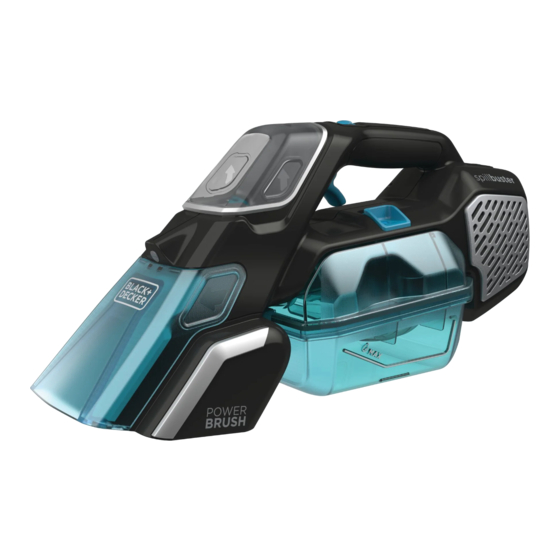
Black & Decker BHSB320JP Manual
Handheld wet & dry vacuum cleaner
Hide thumbs
Also See for BHSB320JP:
- Original instructions manual (96 pages) ,
- Original instructions manual (97 pages)
Summary of Contents for Black & Decker BHSB320JP
- Page 1 无线手持多功能清洁机 Handheld wet & dry vacuum cleaner 简体中文 BHSB320JP English...
- Page 5 简体中文 简体中文 w 请让授权维修机构维修或更换任何受损或存在缺 设计用途 陷的零部件。 您的 BLACK + DECKER BHSB320JP Spillbuster 无线手持多功能清洁 ® 机专为进行轻度的干湿真空清洁而设计。 本设备仅供居家实用。 w 定期检查充电线, 看充电线有无损坏。 安全说明 如果充电线损坏或存在缺陷, 请更换充电器。 w 除本手册中明确说明的零部件外, 不得试图拆除 警告!请阅读所有安全警告和说明。 如未能 或更换任何其他零部件。 遵守以下警告和说明的指示, 可能会造成 剩余风险 触电、 火灾和/或严重人身伤害。 在使用本工具时, 可能会出现额外的剩余风险。 这 警告! 在使用由电池供电的设备时, 请始终 些剩余风险可能未被包含在安全警告中。 使用不当、...
- Page 6 简体中文 简体中文 充电器 5. 活动滑槽 6. 集尘箱释放按钮 您的充电器只适合在特定电压下使用。 始终检查电 7. 集尘箱 源电压与额定铭牌上的电压和技术数据表中的信息 8. 电动刷 (BHSB320JP) 相对应。 9. LED 指示器 9a. 充电状态按钮 警告! 不得试图用普通插座代替充电器。 w BLACK+DECKER 充电器只可用于为随附了该充电 为电池充电 (图 A) 器的设备/工具充电。 其他电池可能会爆炸, 造成 确保设备处于关闭状态。 人身伤害和损坏。 将适配器插头插入插座。 将接头 (11) 插入手柄背面的充电端口 (10) 。...
- Page 7 简体中文 简体中文 清空和清洁集尘箱 (图 G, H, I, J) 向后经过需清洁区域。 吸头与前行方向呈较小角度, 紧密压在 警告! 不可使用未安装泡沫过滤器的真空吸尘器。 集尘箱 (7) 清 地毯上, 以优化清洁效果。 洁有两种方法, 液体垃圾快速清空法和固体与液体垃圾彻底清 根据表面类型和污渍程度, 可能需要多次循环。 空法。 擦拭硬质和地毯表面 清空集尘器 将吸尘器调到擦拭和吸尘位置。 电动擦拭刷(8)激活。 警告! 集尘箱安装在主体上时, 不可清空集尘箱 (7) 中的垃圾。 向前经过需清洁区域。 机头向被清洁表面的吸头略微清洗, 以 当液体达到最大充注线 (250 毫升) 时, 关闭吸尘器。 优化清洁效果以优化清洁效果。...
- Page 8 将带有集尘箱 (7) 主体存放置在平坦的平面上, 启 / 停开关 不同国家的产品规范可能不同。 (2) 朝上。 并非所有国家都能获得所有产品。 对于可获得的产品范围, 请 储存在儿童和宠物够不到的地方。 联系您本地的 BLACK & DECKER 经销商。 故障排除 技术数据 如果产品不运行, 执行以下检查: 充电器是否正确连接以进行充电。 ( 触摸感觉略热。 ) 充电线是否损坏和正确连接 BHSB320JP 充电器是否插入正常工作的插座中。 电压 10.8V (12V Max) (V ) 充电时, 开关是否处于 “OFF” 位。 电池 2.0Ah 过滤器更换 重量 2.0Kg (Kg) 应每隔...
-
Page 9: Using Your Appliance
(Original instructions) ENGLISH Never pull the charger lead to discon- Intended use Your BLACK + DECKER BHSB320JP Spillbuster handheld ® nect the charger from the socket. Keep vacuum cleaner has been designed for light wet and dry the charger lead away from heat, oil vacuum cleaning purposes. -
Page 10: Residual Risks
ENGLISH (Original instructions) damaged or defective. in an electric shock or overheating of Never attempt to remove or replace the battery. any parts other than those specified in When disposing of batteries, follow this manual. the instructions given in the section "Protecting the environment". -
Page 11: Electrical Safety
5. Removable chute The appliance/tool/battery must be 6. Collection tank release button 7. Collection tank placed in a well ventilated area when 8. Power brush (BHSB320JP) charging. 9. LED indicator 9a. State of charge button Electrical safety Charging the battery (Fig. A) Your charger has been designed for a Ensure unit is not switched on. - Page 12 ENGLISH (Original instructions) (Fig. B, C, D) For best results, hold the appliance at an angle of 45° and Filling Fluid Dispenser pull it slowly towards you. Remove fluid tank (3) by pulling straight up and away from If there is any liquid in the collection tank, do not turn the main body as illustrated in figure B.
- Page 13 (Original instructions) ENGLISH Install collection tank (7) onto main body until it “clicks” Warning! Never use the vac without its foam filter. firmly into position.and resume cleaning. There are two methods of cleaning the collection tank (7), a When cleaning task is complete, follow Maintenance quick empty method for liquid only waste and a thorough instructions for cleaning and storage.
- Page 14 Technical data minimum of maintenance. Continuous satisfactory operation depends upon proper tool care and regular cleaning. BHSB320JP Warning! Before performing any maintenance on corded/ Voltage (V) 10.8V (12V Max) cordless power tools: Switch off and unplug the appliance/tool.
- Page 16 NA094200 02/2022...


