Table of Contents

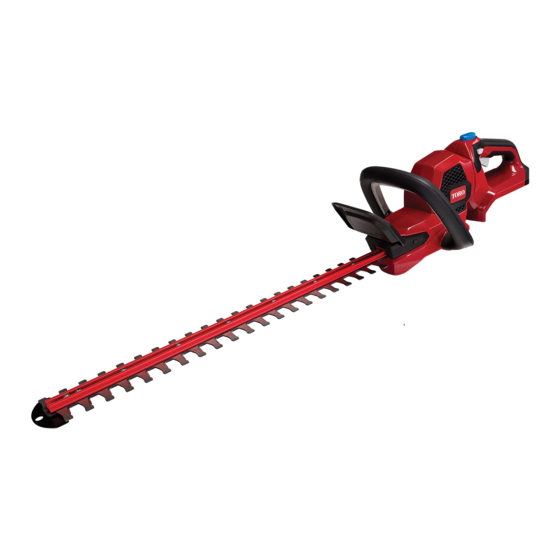
Summary of Contents for Toro Flex-Force Power System 51840
- Page 1 Form No. 3436-756 Rev C Flex-Force Power System ™ 24in 60V Hedge Trimmer Model No. 51840—Serial No. 320000001 and Up Model No. 51840T—Serial No. 320000001 and Up *3436-756* C Register at www.Toro.com. Original Instructions (EN)
- Page 2 California to cause cancer, birth defects, additional information, contact an Authorized Service or other reproductive harm. Dealer or Toro Customer Service and have the model and serial numbers of your product ready. Figure 1 identifies the location of the model and serial numbers on the product.
-
Page 3: Important Safety Instructions
Safety Use of a cord suitable for outdoor use reduces the risk of electric shock. If operating a power tool in a damp location WARNING is unavoidable, use a residual current device (RCD) protected supply. Use of an RCD Read all safety warnings, instructions, reduces the risk of electric shock. - Page 4 IV. Power tool use and care V. Battery tool use and care Do not force the power tool. Use the correct Recharge only with the charger specified by power tool for your application. The correct the manufacturer. A charger that is suitable for power tool will do the job better and safer at the one type of battery pack may create a risk of fire rate for which it was designed.
- Page 5 VII. Hedge trimmer safety warnings Keep all parts of the body away from the blade. Do not remove cut material or hold material to be cut when blades are moving. Blades continue to move after the switch is turned off. A moment of inattention while operating the hedge trimmer may result in serious personal injury.
-
Page 6: Safety And Instructional Decals
Safety and Instructional Decals Safety decals and instructions are easily visible to the operator and are located near any area of potential danger. Replace any decal that is damaged or missing. Model 51840 Symbol Designation/Explanation Read the instruction manual. Wear hearing protection. Wear eye protection. - Page 7 Model 51840T decal139-5252 139-5252 1. Warning—read the 2. Keep hands away from Operator’s Manual; wear blade—stay away from eye protection; do not moving parts; keep all decal137-9454 expose to rain. guards and shields in 137-9454 place. 1. Read the Operator’s 3.
-
Page 8: Product Overview
Setup Product Overview Note: The battery pack is not fully charged when it is purchased. Before using the machine for the first time, refer to Charging the Battery Pack (page 11). Mounting the Battery Charger (Optional) If desired, mount the battery charger securely on a g308470 wall using the wall-mount key holes on the back of Figure 3... -
Page 9: Specifications
Specifications Operation Model 51840 51840T Starting the Hedge Trimmer Cutting 610 mm (24 inches) Length Remove the protective cover from the blades Rated 60V DC maximum, 54 VDC nominal usage (Figure Voltage No-load 3200 spm at 60 VDC max WARNING Speed The hedge trimmer blades can cause Cutting... -
Page 10: Rotating The Hedge Trimmer Handle
Shutting Off the Hedge Press the lock switch and then squeeze the trigger switch while engaging the Trimmer auxiliary-handle switch to turn on the hedge trimmer (Figure To shut off the hedge trimmer, release the trigger, The trimmer stays on as long as the auxiliary-handle switch, or both (Figure 6). -
Page 11: Charging The Battery Pack
Charging the Battery Pack Green Battery pack is charging blinking Important: The battery pack is not fully charged Green Battery pack is charged when you purchase it. Before using the tool for Battery pack and/or battery charger is over or under the first time, place the battery pack in the charger the appropriate temperature range and charge it until the LED display indicates the... -
Page 12: Maintenance
Store the tool, battery pack, and battery charger please contact your local municipality for more information on how to responsibly recycle the in an enclosed clean, dry area. battery. If you are located outside of the US and Canada, please contact your authorized Toro distributor. -
Page 13: Troubleshooting
Troubleshooting Perform only the steps described in these instructions. All further inspection, maintenance, and repair work must be performed by an authorized service center or a similarly qualified specialist if you cannot solve the problem yourself. Problem Possible Cause Corrective Action The tool does not start. - Page 14 Notes:...
- Page 15 While the exposure from Toro products may be negligible or well within the “no significant risk” range, out of an abundance of caution, Toro has elected to provide the Prop 65 warnings. Moreover, if Toro does not provide these warnings, it could be sued by the State of California or by private parties seeking to enforce Prop 65 and subject to substantial penalties.


