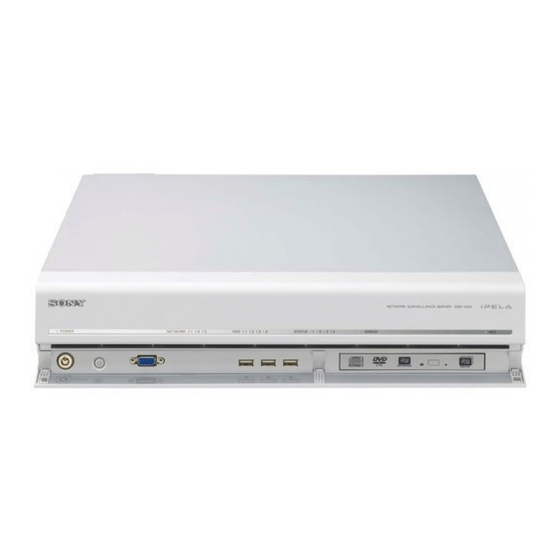
Sony Ipela NSR-1000 Series First Step Manual
Network surveillance server
Hide thumbs
Also See for Ipela NSR-1000 Series:
- Release notes (46 pages) ,
- Installation manual (380 pages) ,
- User manual (144 pages)
Table of Contents
Advertisement
Quick Links
Download this manual
See also:
Installation Manual
Advertisement
Table of Contents

Summary of Contents for Sony Ipela NSR-1000 Series
-
Page 1: Network Surveillance
4-130-100-25 (1) Network Surveillance Server First Step Guide Software Version 1.5 and Later NSR-1000 Series © 2008 Sony Corporation... - Page 2 Use this document as a guide for setting up the unit before actual operation. Conditions and usage assumed in this guide • System includes only Sony network cameras and analog cameras. • Pan, tilt, and zoom operations for analog cameras are not used.
- Page 3 • Be sure to read the Safety Regulations (separate document) before installing the unit. • For details on optional NSBK-A16/A16H expansions, contact your Sony dealer. • PDF manuals are included with this unit. For details on how to use the PDF manuals, refer to the Installation Manual (separate document).
-
Page 4: Step 1: Installation
Example) When connecting two HDMI monitors Step 1: Installation Monitor 1 Monitor 2 (operations/settings) (hot spot monitoring) Installing the Unit Before setting up, be sure that the location for installation provides sufficient space and strength to support the unit. For details on installation, refer to the Installation Manual (separate document). -
Page 5: Connecting The Power Cord
Connecting the Keyboard, Mouse and Note System Controller We recommend connecting the cameras in an order that Connect the devices to the USB connectors on the front will make it easy to operate them on the screen. and rear of the unit. Analog camera cable input connector Example) When connecting to the USB connector on the rear... -
Page 6: Step 2: System Setup
Configuring Initial Settings with Step 2: System Setup Setup Wizard When you turn on the unit, the Setup Wizard starts after Turn on the unit and configure initial settings with the the following screen appears. Setup Wizard. Turning On the Unit Press the power switch to turn on the unit. - Page 7 Select a display language, and click [Next]. Set the IP address for each server, and click [Next]. ↓ ↓ Select a language for the keyboard, and click [Next]. Set the IP address for LAN connector 1, and click [Next]. ↓ Select a time zone, and click [Next].
- Page 8 Set the IP address for LAN connector 3, and click Configure settings for monitor 2. [Next]. Select [Auto], and click [Next]. ↓ Caution Select which audio connector to use, and click [Next]. Do not configure LAN connectors 1 to 3 to the same When using audio output from an HDMI monitor, select network segment.
- Page 9 Specify the number of partitions, and select the Select the video format for the analog cameras to be percentage of the total capacity to assign each partition. connected, and click [Next]. This document assumes that you clicked [Next] with this (This screen only appears when an NSR-1050H or configuration unchanged at 100%.
-
Page 10: Step 3: Software Setup
Register the cameras. Step 3: Software Setup If you do not want to register cameras, select [Skip configuration] and click [Next], and proceed to step 3. Log on to NSR, and configure basic settings for 1 Select [Configure], and click [Next]. automatic camera registration and automatic scheduling. - Page 11 3 Click [Finish]. • The settings configured here will overwrite any schedule recording settings already configured. A Schedule Recording Setting screen appears. 2 Verify the automatically configured settings, and click [OK]. You can change codec and resolution settings as necessary. Example: When automatic schedule record Proceed to “3 Recording Schedule”.
- Page 12 1 Select [Configure]. 2 Click [Add]. The Add User screen appears. 2 Click [Execute]. 3 Configure each setting, and click [OK]. 3 Click [Next]. Proceed to “5 Add User”. User Name Enter the user name that will be used to log onto Register users, and configure logon passwords and the NSR.
- Page 13 4 Click [Close]. The Main screen appears in a 2×2 layout, and recording starts automatically for all cameras. Proceed to “6 Open Ports for External Network”. Configure settings for opening the port to external networks. These settings are required to access the NSR from an external network.
- Page 14 In the same way, check whether images from all Step 4: Verification registered cameras can be monitored. Check whether camera images can be monitored in the “Main” screen, and confirm that the images can be recorded or played back. Verifying Monitoring Check whether images from automatically registered cameras can be properly monitored.
- Page 15 Click (play) to play back the recorded images. Trademarks • “IPELA” and are trademarks of Sony Corporation. • HDMI, , and High-Definition Multimedia Interface are trademarks or registered trademarks of HDMI Licensing LLC. • Other products or system names appearing in this...


