Advertisement
Quick Links
Installation Manual For
Sun/Sony GDM-20D11
Color Monitor Series
Please
read Entirely Before Installation!
This document contains instructions to connect a Sun Microsystems/Sony GDM-20D11 color
monitor to a PC system, using the accompanying cable and video card. Please read the
documentation provided with the video card, for more instructions.
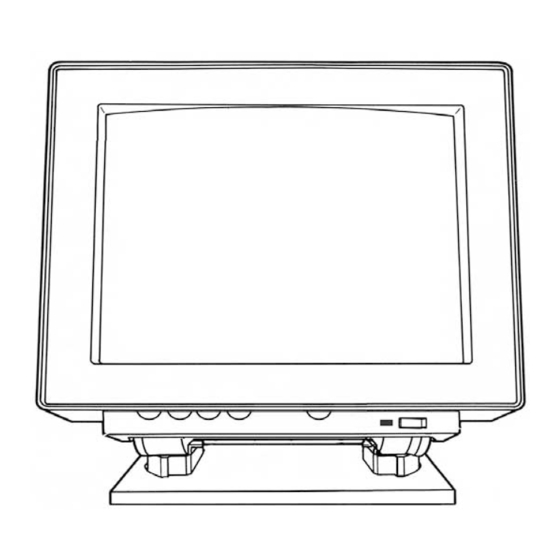
The above picture looks different from the actual monitor.
Advertisement

Summary of Contents for Sony GDM-20D11
- Page 1 Please read Entirely Before Installation! This document contains instructions to connect a Sun Microsystems/Sony GDM-20D11 color monitor to a PC system, using the accompanying cable and video card. Please read the documentation provided with the video card, for more instructions.
- Page 3 READ THIS BEFORE INSTALLING THE UNIT: Please follow these simple instructions, to assure a trouble free monitor installation: Your Sun/Sony GDM-20D11 monitor like many high-end monitors, requires a special cable to attach to your computer system. This cable is called a 13W3 type cable.
-
Page 4: Adjusting The Screen
ADJUSTING THE SCREEN : This unit adjustments are done using a credit card size remote. The Remote must be pointed directly to the front right side of the monitor at about 1-2 inches apart from the monitor. V.SIZE or Vertical size adjustment control: This is your vertical height adjustment. - Page 5 Please make sure that you also change your monitor type to one which supports higher refresh rates like the Sony G500 Multiscan monitor mentioned below. Then switch to 1280x1204 60 hz mode on your...
- Page 6 Monitor selection under windows 9x: Under Monitor selections, choose Sony Corp G500 Multiscan to give you all high refresh choices. If you are using a MIRAGE video card, choose standard monitor type, SuperVGA 1600x1200. MIRAGE Video Cards: To obtain video cards which run all the modes (including Cmos setup, DOS, VGA, Games,..and high resolutions) on this monitor please visit :...
- Page 7 SONY Tube mask lines: This monitor has 2 very fainted horizontal lines across the screen. This is how SONY Trinitron Monitors are made to connect the tube masks together and this is not a monitor defect. For further Information, please contact www.sony.com.
-
Page 8: Monitor Specification
Horizontal scan rate is automatic for the above range. Maximum Resolution: 1600x1200 Monitor Adjusted for: 1024x768 Tube: Sony Trinitron This monitor does not function with a notebook running at 31.5 Khz( VGA standard). Replacement video cards can be obtained from: http://www.mirage-mmc.com...


