Table of Contents
Advertisement
Quick Links
Advertisement
Table of Contents

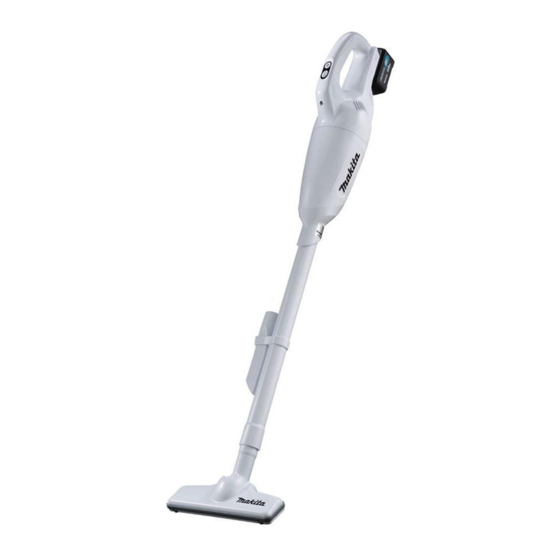
Summary of Contents for Makita CL108FDWYW
- Page 1 INSTRUCTION MANUAL Cordless Cleaner CL108FD Read before use.
-
Page 2: Specifications
WARNING This appliance can be used by children aged from 8 years and above and persons with reduced physical, sensory or mental capa- bilities or lack of experience and knowledge if they have been given supervision or instruction concerning use of the appliance in a safe way and understand the hazards involved. - Page 3 12. Use the batteries only with the products — Powder to clot such as cement or toner specified by Makita. Installing the batteries to — Conductive dust such as metal or carbon non-compliant products may result in a fire, exces- —...
-
Page 4: Functional Description
CAUTION: Always switch off the tool before also void the Makita warranty for the Makita tool and installing or removing of the battery cartridge. charger. CAUTION: Hold the tool and the battery car-... - Page 5 Indicating the remaining battery capacity Lighting up the lamp Only for battery cartridges with the indicator CAUTION: Do not look in the light or see the source of light directly. ► 1 . Indicator lamps 2. Check button Press the check button on the battery cartridge to indicate the remain- ► 1 .
- Page 6 High performance filter NOTE: Be sure to set a garbage bag beneath the capsule, as dust may spill out when the capsule is opened. Remove accumulated dust from inside of the capsule and off of the prefilter. ► 1 . Capsule 2. High performance filter Disposing of dust ► 1 . Prefilter 2.
- Page 7 Disposing of dust for high Reassembly performance filter Reassembly for normal filter In order to drop dust sticking on the filter in the capsule, tap the capsule 4 or 5 times with your hand. Put on the filter fully in position on the cleaner unit. Now point suction inlet downwards, turn capsule in direction of arrow in diagram, and disconnect capsule slowly and straight.
- Page 8 Problem Examples Example 1: Only the prefilter has been loaded (no filter) Install the capsule. Align the mark on the capsule with the mark near the handle and then firmly twist the cap- sule in direction of the arrow until it is secured. ► 1 . Prefilter Example 2: Only the filter has been loaded (no prefilter) ► 1 . Mark ► 1 . Filter Example 3: The filter has been loaded in a peeled back state ► 1 . Capsule 2. Handle 3. Mark NOTE: Always remove dust ahead of time, as the suction power will be reduced if there is too much dust in the cleaner.
- Page 9 Example 4: The securing lip on the prefilter is not firmly locked in the groove of cleaner housing ► 1 . Mark ► 1 . Securing lip 2. Prefilter 3. Groove of cleaner housing Reassembly for high performance filter Connect high performance filter. At this time, make sure to twist high performance filter so that securing lip is firmly locked into cleaner unit. ► 1 . Capsule 2. Handle 3. Mark NOTE: Always remove dust ahead of time, as suction power will be reduced if there is too much dust in cleaner.
-
Page 10: Operation
Nozzle + Extension wand (Straight pipe) OPERATION The extension wand fits in between the nozzle and the cleaner itself. This arrangement is convenient for clean- CAUTION: To connect attachments, such ing a floor in a standing position. as nozzle, twist and insert the attachment in direction of the arrow to secure the connection during use. To disconnect the attachments, twist and extract it also in direction of the arrow. -
Page 11: Maintenance
Cleaning without nozzle Cleaner body You can pick up powder and dust without nozzle. From time to time wipe off the outside (cleaner body) of the cleaner using a cloth dampened in soapy water. Clean out also the suction opening and filter mounting area. MAINTENANCE Filter CAUTION: Wash the filter in soapy water when it is clogged with Always be sure that the tool is dust and the cleaner power becomes weak. -
Page 12: Troubleshooting
Is the battery cartridge exhausted ? Charge the battery cartridge. CAUTION: Do not attempt to repair the cleaner by yourself. To maintain product SAFETY and RELIABILITY, repairs, any other maintenance or adjustment should be performed by Makita Authorized or Factory Service Centers, always using Makita replacement parts. • Corner nozzle OPTIONAL • Seat nozzle ACCESSORIES •... - Page 16 Makita Corporation 885637-2 20180509 www.makita.com...


