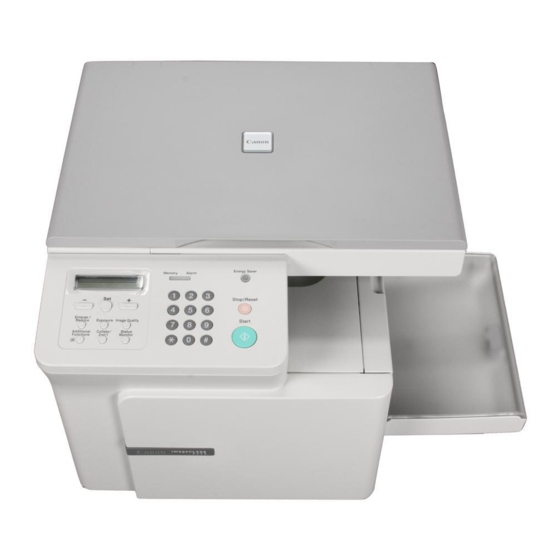
Canon imageCLASS D320 Setup Sheet
Canon imageclass d320: install guide
Hide thumbs
Also See for imageCLASS D320:
- Basic manual (86 pages) ,
- Printer manual (121 pages) ,
- Specification (2 pages)
Table of Contents
Advertisement
Quick Links
Download this manual
See also:
Basic Manual
Thank you for purchasing the Canon imageCLASS D320.
To get your machine ready for use, please follow the instructions in this Set-Up Sheet
before referring to any other documentation.
Unpack the machine and its components.
Check that you have the following:
●
Machine
●
Canon S35 Cartridge
●
Power Cord
●
Documentation
(Set-Up Sheet, Basic Guide, Registration Card, Limited Warranty Card)
●
CD-ROM
IMPORTANT
• Save your sales receipt for proof of purchase in case your machine requires warranty
service.
NOTE
• A printer cable is not included. You need a USB cable (less than 16.4ft./5m) to connect your
machine to a computer.
Set-Up Sheet
Set-Up Sheet
●
Cassette/Multi-purpose tray
Advertisement
Table of Contents

Summary of Contents for Canon imageCLASS D320
- Page 1 Thank you for purchasing the Canon imageCLASS D320. To get your machine ready for use, please follow the instructions in this Set-Up Sheet before referring to any other documentation. Unpack the machine and its components. Check that you have the following: ●...
-
Page 2: Removing Shipping Materials
Removing Shipping Materials 1 Place the machine on a flat surface. 2 Remove the shipping tapes on the machine and cassette/multi-purpose tray. Left side view 3 Open the platen glass cover B to remove the inner protection sheet C. Installing the Cassette Raise the cassette slightly toward the machine, and align the hooks on both sides of the cassette with the guides in the machine, then insert the cassette into the machine as far as it will go... -
Page 3: Loading Paper In The Cassette
Loading Paper in the Cassette 1 Load the paper stack in the cassette. • Insert the paper stack into the cassette as far as it will go. 2 Slide the width guides A and the length guide B to fit the size of the paper stack. •... -
Page 4: Installing The Cartridge
Installing the Cartridge 1 Remove the new cartridge from its protective bag. NOTE • Save the protective bag. You may need it later when you remove the cartridge. 2 Rock the cartridge 5 or 6 times to distribute the toner evenly. Instructions NOTE •... - Page 5 6 Hold the cartridge and position the arrow mark on the cartridge towards the inside of the machine shown below. 7 Align the projections A on both sides of the cartridge to the guides B in the machine (location 1) and gently slide the cartridge into the machine until the right cover slightly rises up (location 2).
- Page 6 Installing User Software (Windows 98/Me/2000/XP) IMPORTANT • Before you can print, you must install the user software on your computer. Screen shots in the following installation procedures are for Windows 98. 1 Make sure the USB cable is NOT connected to your machine and computer at this stage.
- Page 7 6 Check Install Printer Driver through a USB Connection, then click Next> . When the screen (on the upper right) appears, follow the procedure below. Remove the transparent USB label A . 6-2 Connect the USB cable B to the machine and computer. The program will start installing the Printer Driver automatically.
- Page 8 4 Double-click the .exe file in the Acrobat folder. Part no. HT3-2115-000-V.2.0 © 2003 Canon Inc. Canon is a registered trademark of Canon Inc. All other products and brand names are registered trademarks or trademarks of their respective owners. Specifications subject to change without notice.


