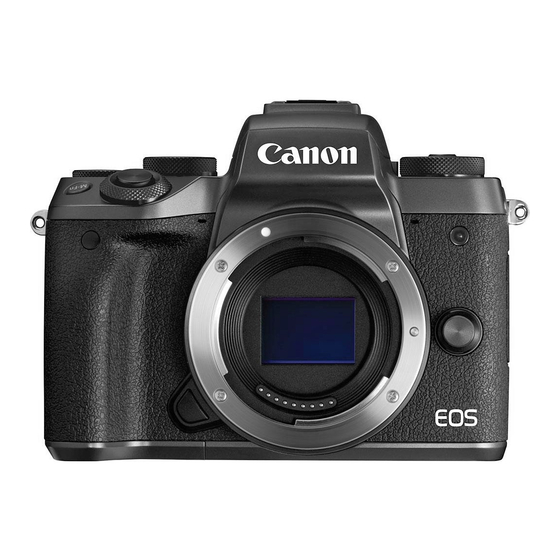
Canon EOS M5 Getting Started Manual
Hide thumbs
Also See for EOS M5:
- User manual (222 pages) ,
- Quick manual (7 pages) ,
- Quick start manual (7 pages)
Table of Contents
Advertisement
Advertisement
Table of Contents

Summary of Contents for Canon EOS M5
-
Page 1: Getting Started
Getting Started ENGLISH CEL-SW7ZA210... -
Page 2: Package Contents
Package Contents Before use, make sure the following items are included in the package. If anything is missing, contact your camera retailer. Camera Battery Pack Battery Charger (with body cap) LP-E17 LC-E17E (with terminal cover) Neck Strap Interface Cable EM-300DB IFC-600PCU ●... -
Page 3: Manuals And Software
Manuals and Software Download camera manuals and software from the following page. http://www.canon.com/icpd/ ● With a computer connected to the Internet, access the above URL. ● Access the site for your country or region. ● Adobe Reader is required to view the manuals. - Page 4 Initial Preparations Attach the ring. ● Pass the end of the ring through the holder as shown. Turn the ring around. ● Rotate the ring in the direction of (1). ● When rotating the ring, be careful not to pass the strap through the gap in the ring. ( 1 ) Secure the ring.
- Page 5 Initial Preparations Charge the battery pack. ● Plug the power cord into the charger, then plug the other end into a power outlet. ● The charging lamp turns orange, and charging begins. ● When charging is fi nished, the lamp turns green.
- Page 6 Initial Preparations Check your card’s write-protect switch and insert the memory card. ( 1 ) ● Recording is not possible on memory cards with a write-protect switch when the switch is in the locked position. Move the switch toward (1). ●...
-
Page 7: Changing The Date And Time
Initial Preparations Specify your home time zone. ● Press the [ ][ ] buttons to choose your home time zone. ● Press the [ ] button when fi nished. After a confi rmation message, the setting screen is no longer displayed. ●... -
Page 8: Attaching A Lens
Initial Preparations Attaching a Lens The camera is compatible with EF-M lenses. If you use Mount Adapter EF-EOS M, you can also use EF and EF-S lenses (see the Camera User Guide). Make sure the camera is off. Remove the caps. ( 1 ) ●... -
Page 9: Detaching A Lens
Initial Preparations Prepare to shoot. ● With the lens retraction index aligned with the zoom position index, hold the lens retraction switch toward [ ] as you turn the zoom ring a little in the direction shown, and then release the switch. ●... -
Page 10: Trying The Camera Out
Trying the Camera Out Shooting For fully automatic selection of the optimal settings for specifi c scenes, simply let the camera determine the subject and shooting conditions. Turn the camera on and enter [ mode. ● Move the power switch to [ ●... -
Page 11: Erasing Images
Trying the Camera Out Viewing After shooting images or movies, you can view them on the screen as follows. Enter Playback mode. ● Press the [ ] button. Choose images. ● To view the previous or next image, press the [ ][ ] buttons or turn the [ ] dial. ●... -
Page 12: Trademarks And Licensing
Trademarks and Licensing ● The SDXC logo is a trademark of SD-3C, LLC. Disclaimer ● Unauthorized reproduction of this guide is prohibited. ● Illustrations and screenshots in this guide may differ slightly from the actual equipment. - Interface Cable IFC-600PCU HDMI cable (camera end: Type D): Use a commercially available cable no longer than 2.5 m. - Page 13 To avoid violating wireless regulations, visit the Canon website to check where use is allowed. Note that Canon cannot be held liable for any problems arising from wireless function use in other countries and regions.


